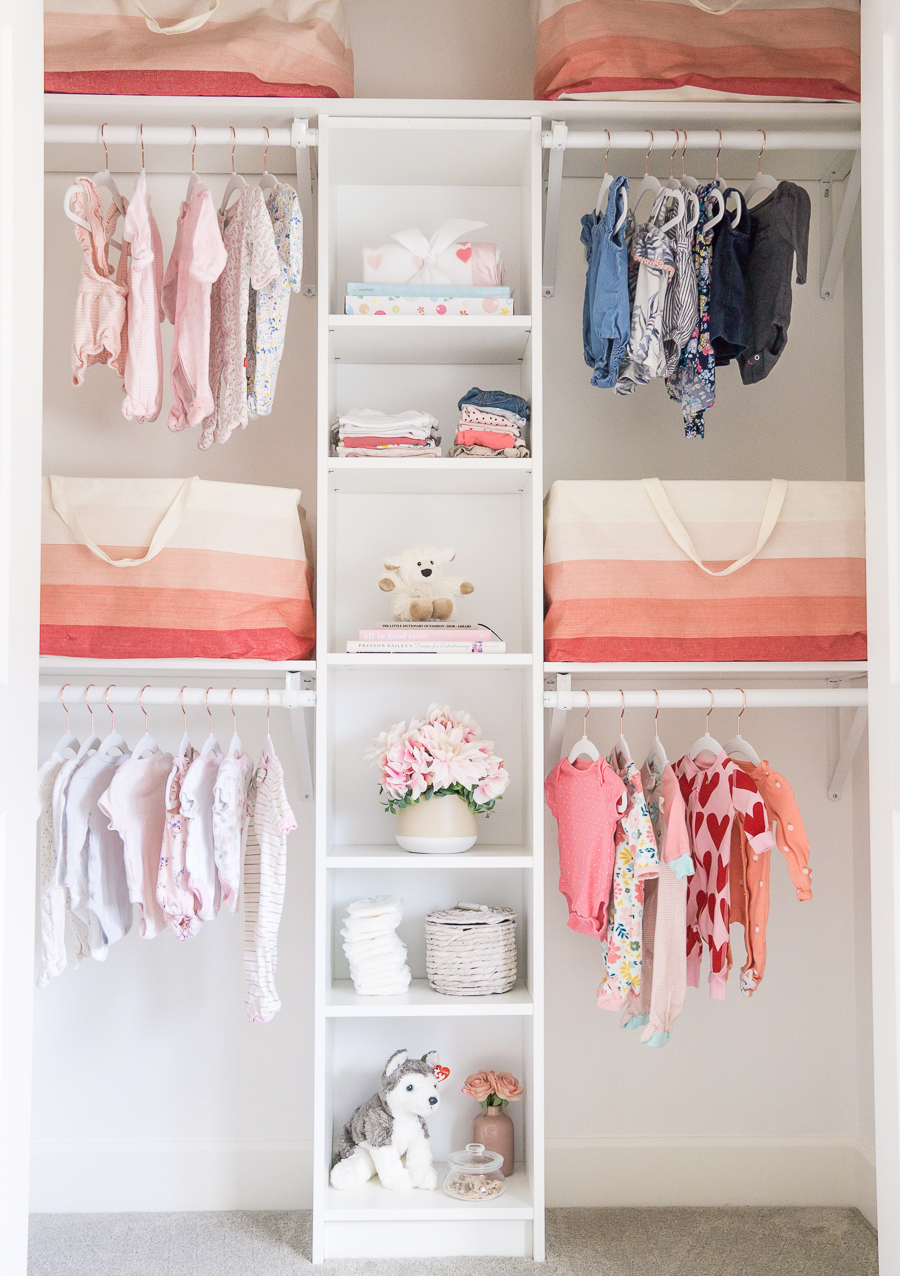
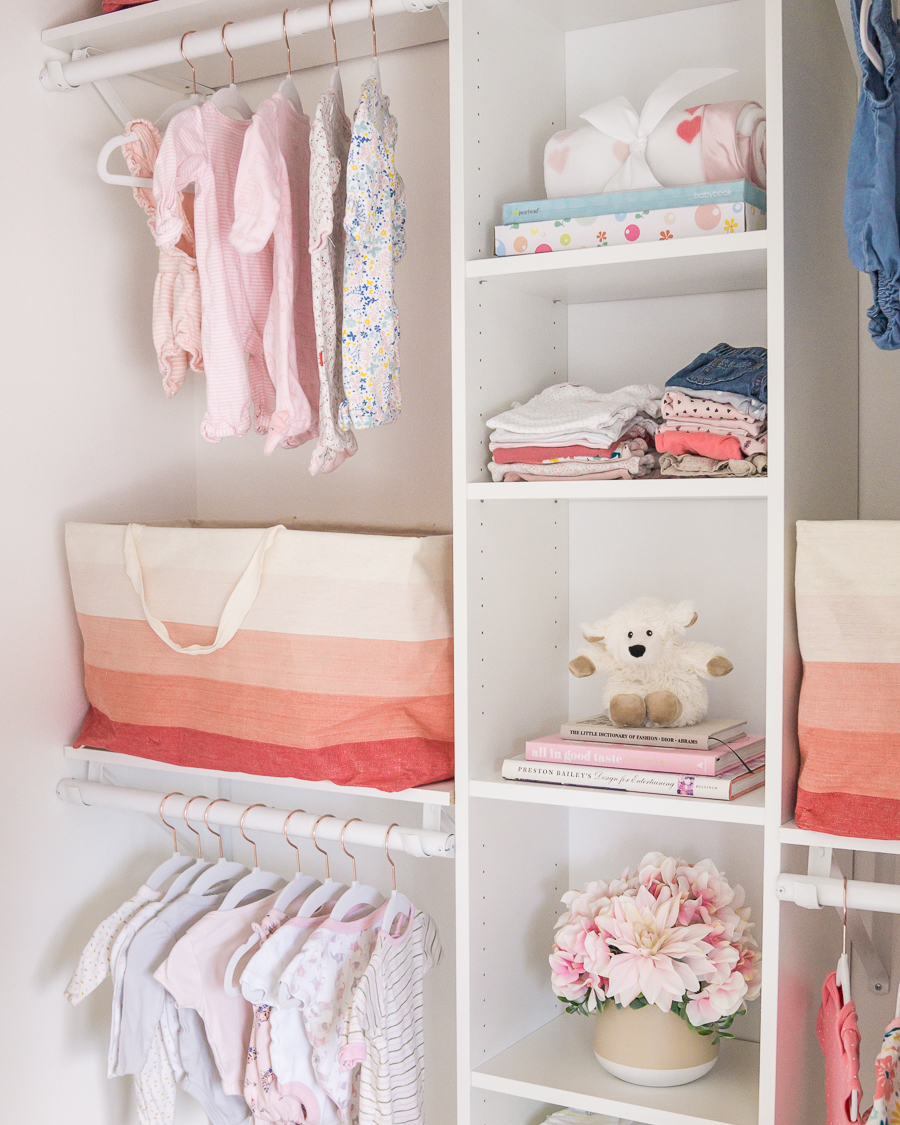
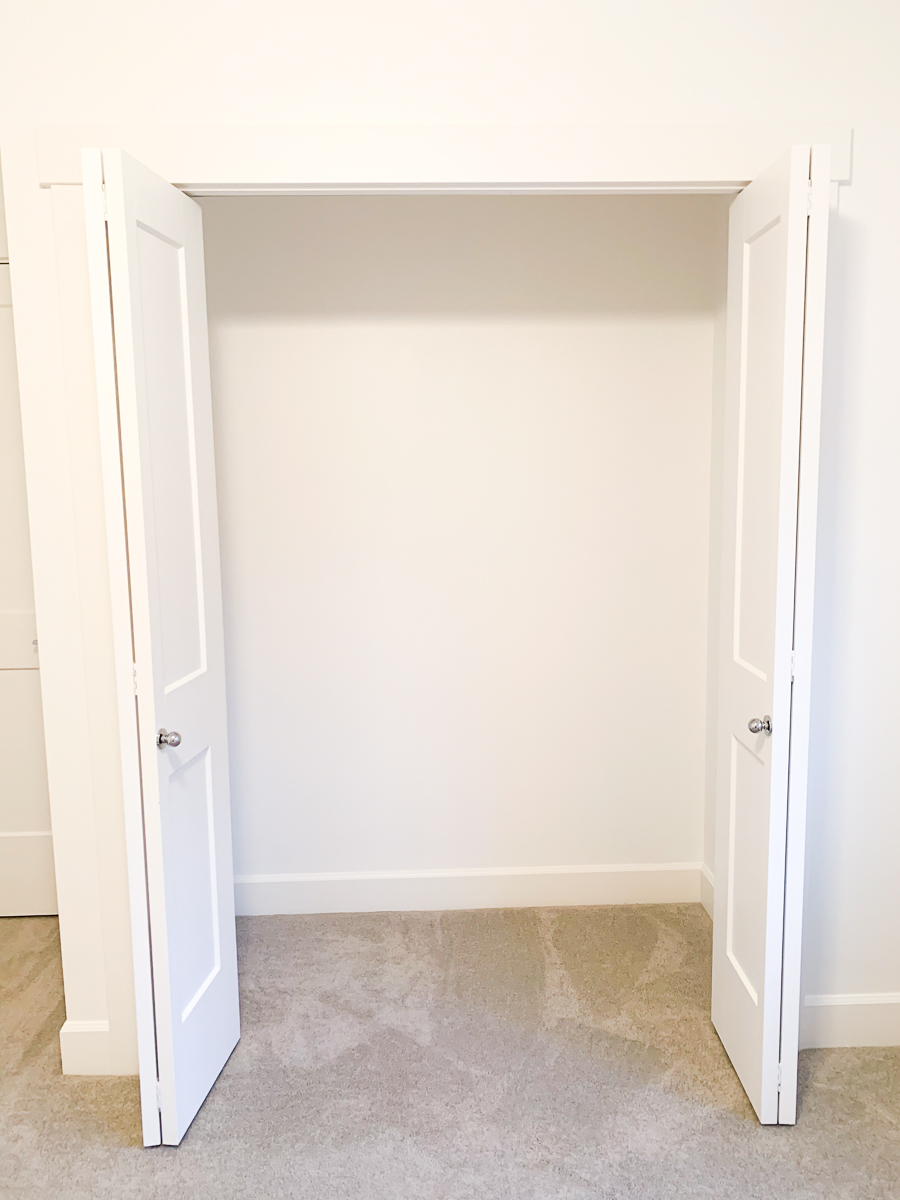
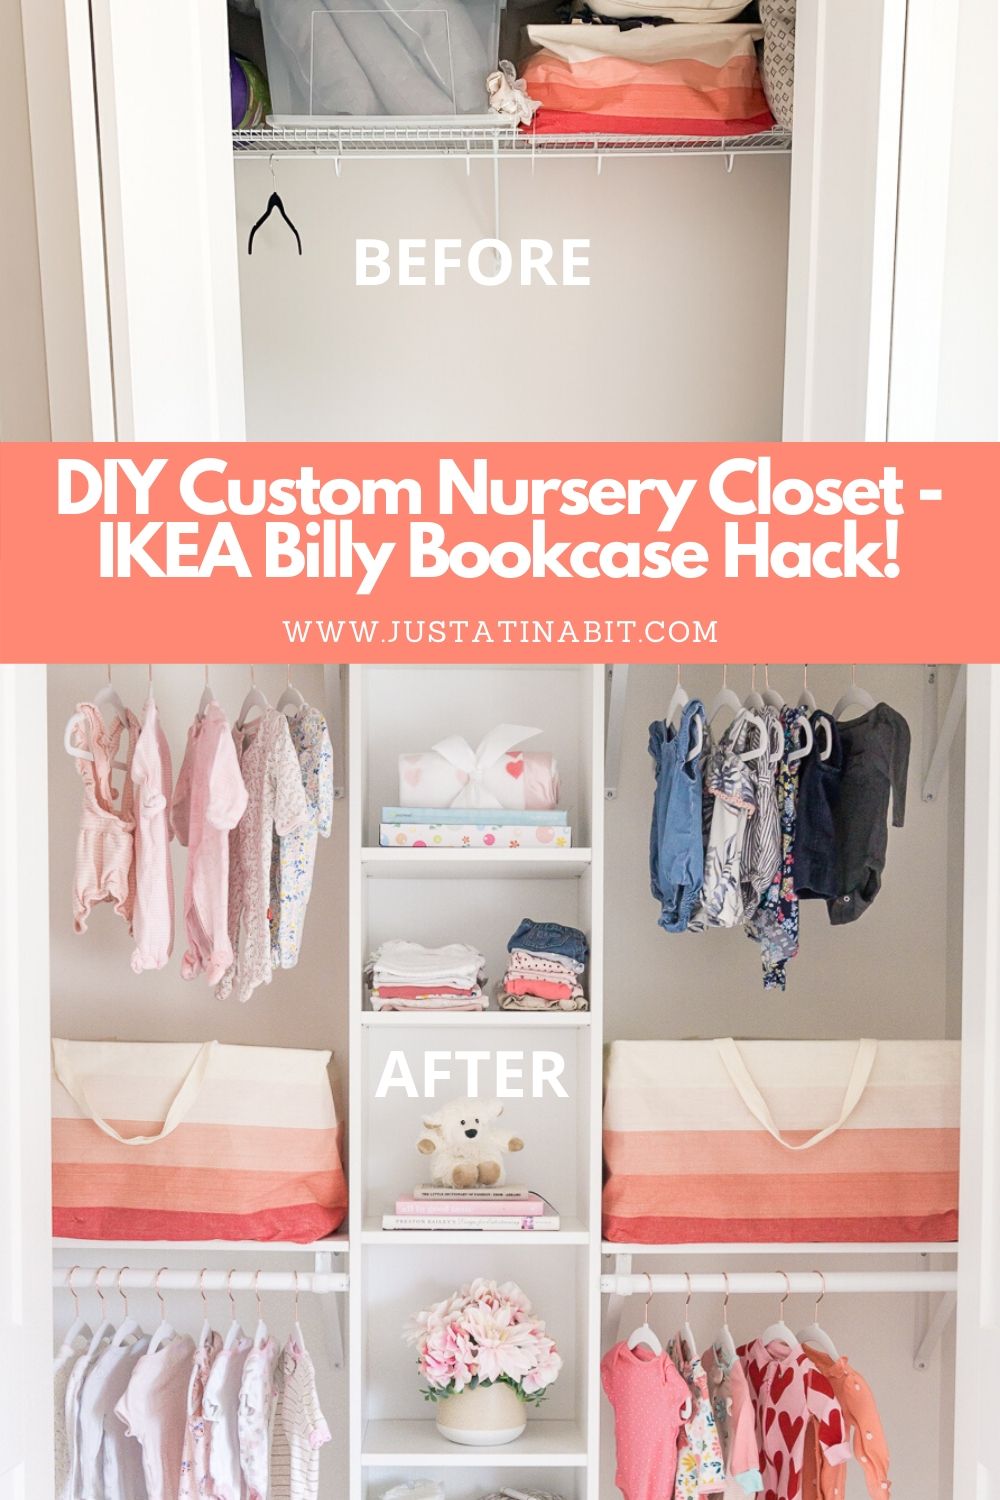
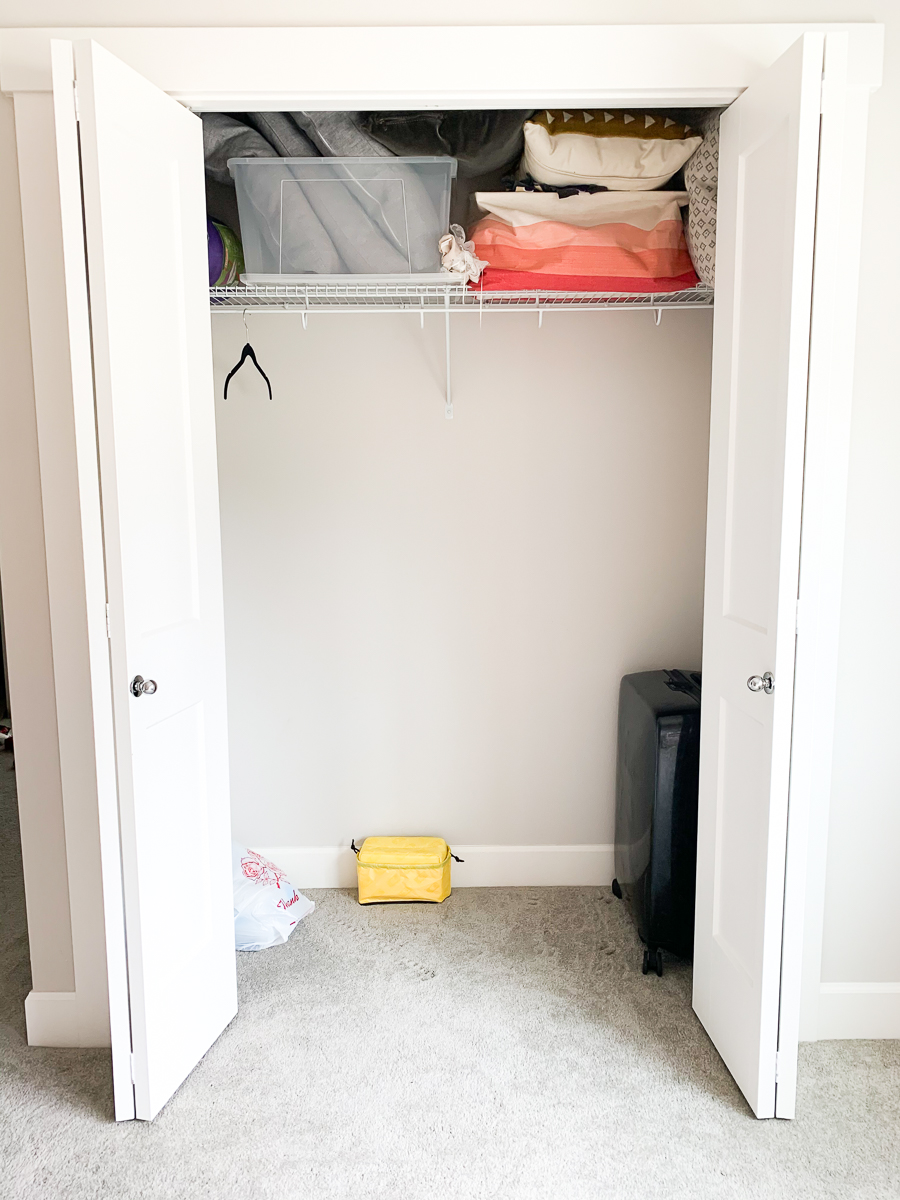
Baby girl will be here in about two months and we are in full nesting mode. The original closet in her room only had one long wire shelf, which was not functional at all. I looked into pre-made closet systems but those didn’t have as many shelves or rods as I would like, while a truly custom one could cost thousands of dollars. We decided to take it into our own hands and build this custom nursery closet for about $150 using an IKEA Billy Bookcase hack inspired by Home and Hallow! Now we have plenty of shelves and double the hanging space. I’m so glad we got this done before baby girl is here so that we can organize her stuff! I’m sharing all of the supplies and instructions for recreating this custom nursery closet below!
What You’ll Need:
- Spackle
- Sandpaper
- Paint
- IKEA Billy Bookcase
- Laminate shelves (2 72-in L x 0.625-in H x 11.75-in D)
- Closet rods (4)
- Shelf brackets (2 sets of 5)
- Miter saw
- Drill
- Leveler
- Drywall anchors
- Screws
Custom Nursery Closet Instructions – IKEA Billy Bookcase Hack
1. Clear Out Closet + Remove Shelving
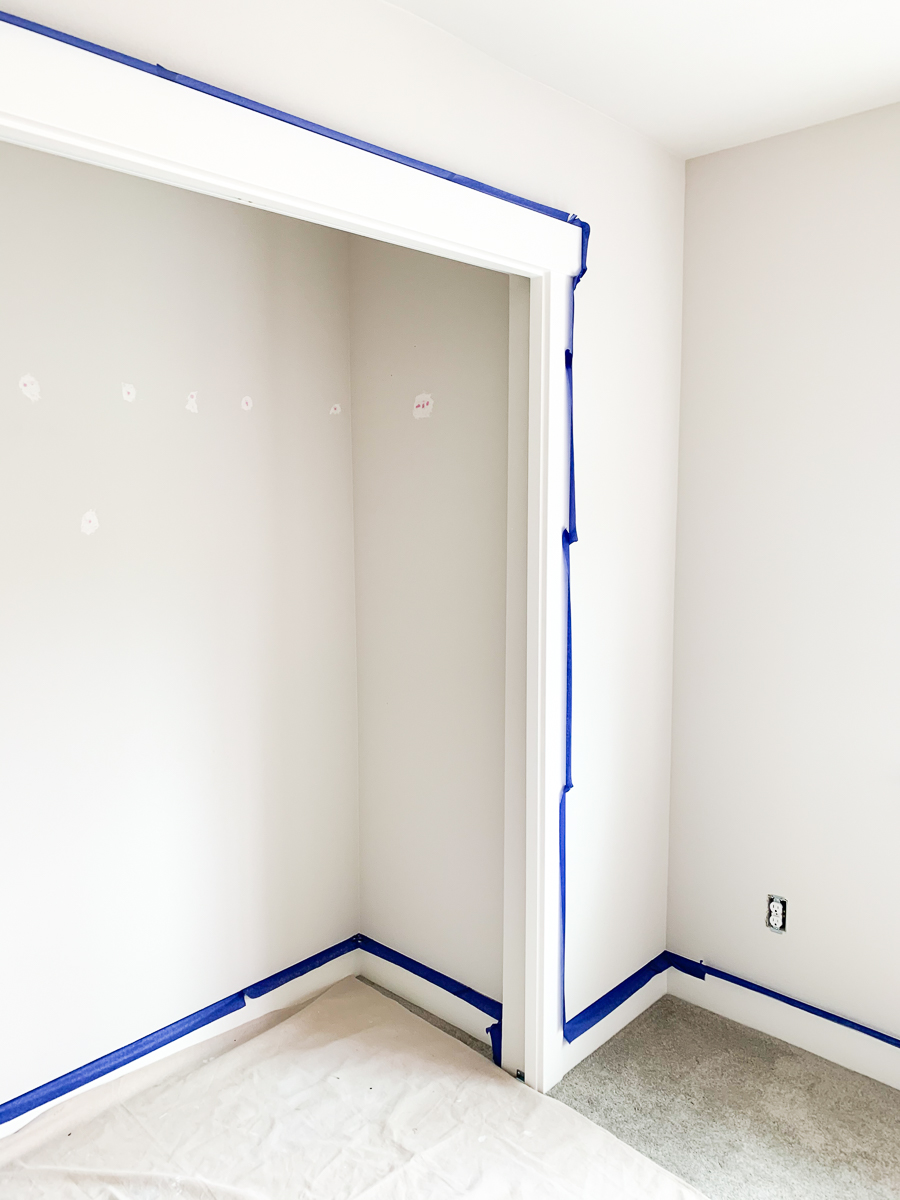
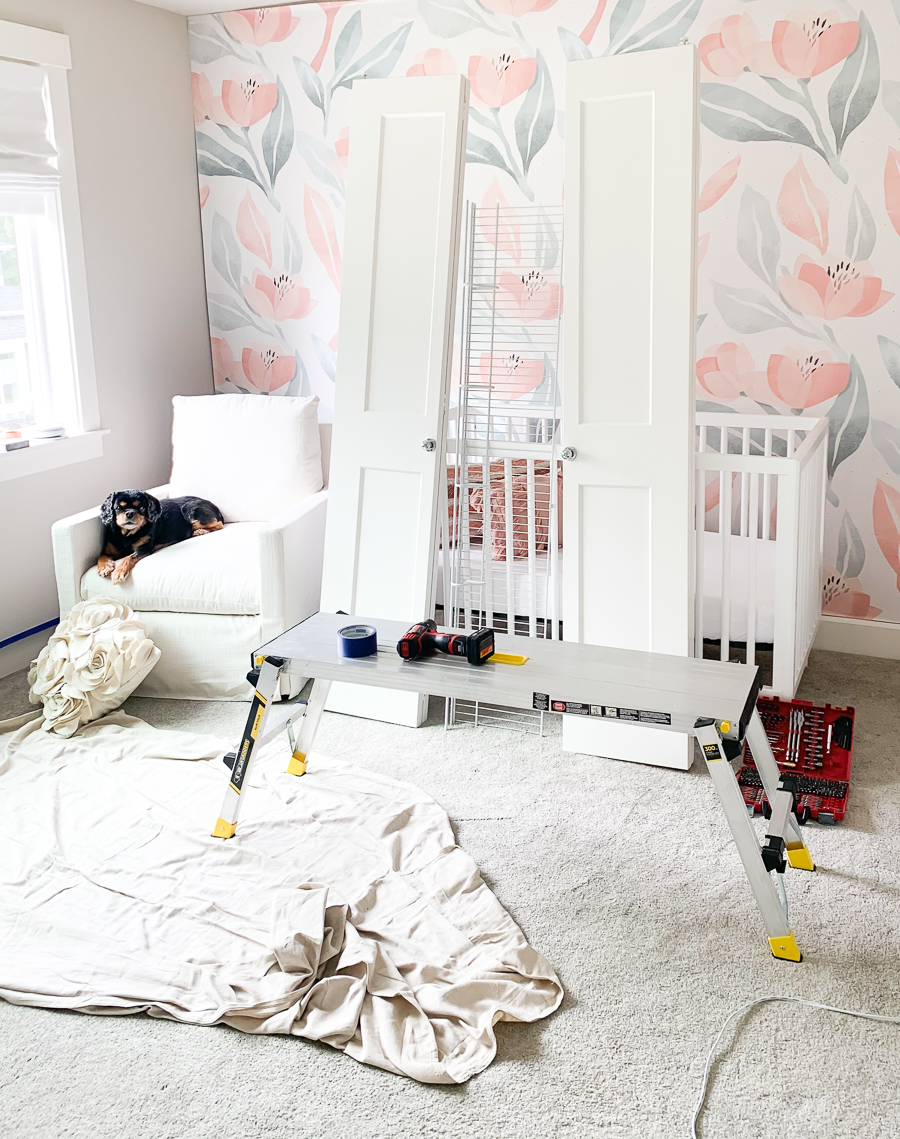
Completely clear out the closet and take out any items you have stored in there. Then remove all existing closet shelving, support brackets, and closet doors.
2. Patch + Paint the Drywall
Once the wire shelf and support brackets are removed, patch up the holes using spackle (we like this one since it turns white when dried). Sand down the spackle to ensure a smooth finish and cover it up with paint. Since we decided to paint the entire room white (instead of leaving it beige), we ended up painting the inside of the closet all white too. It looks so much brighter and matches the new bookcase and shelves!
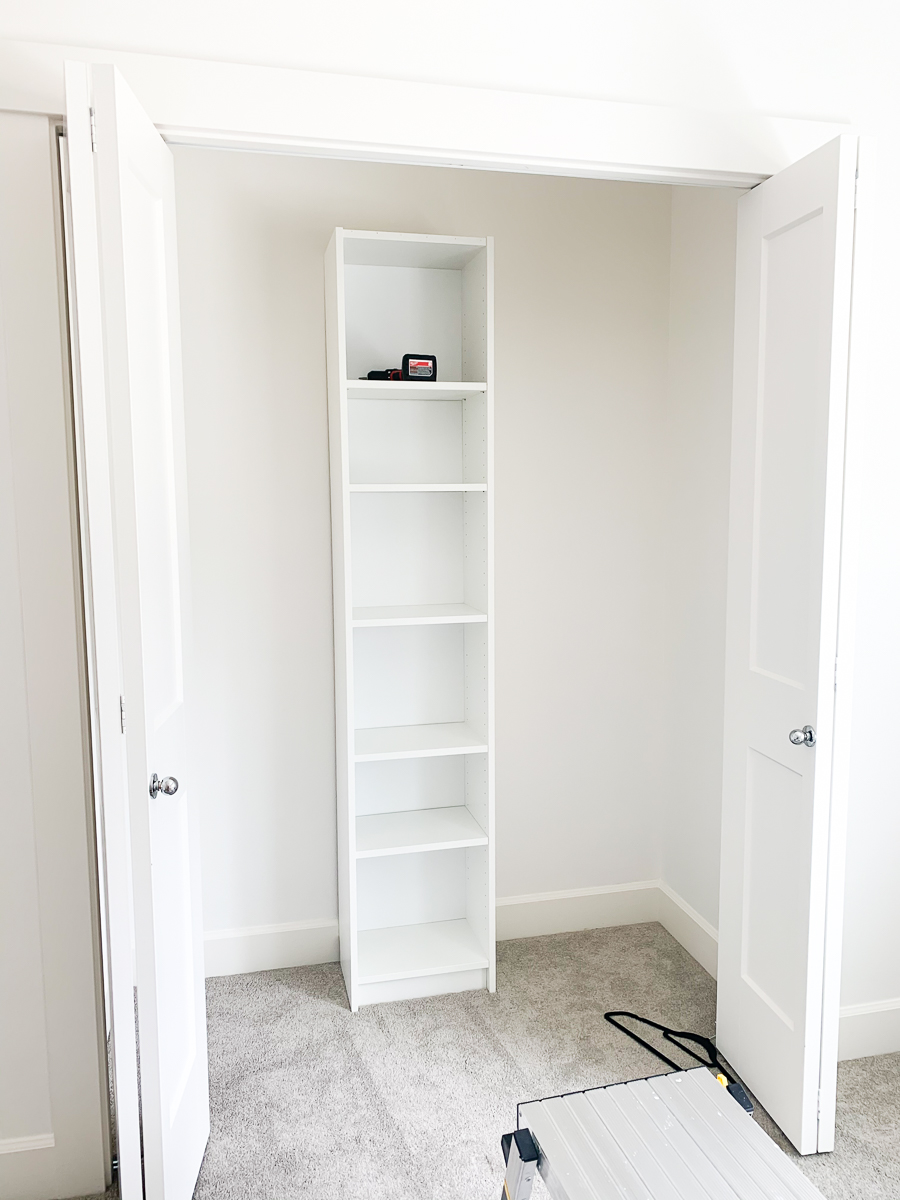
3. Assemble + Install the IKEA Billy Bookcase
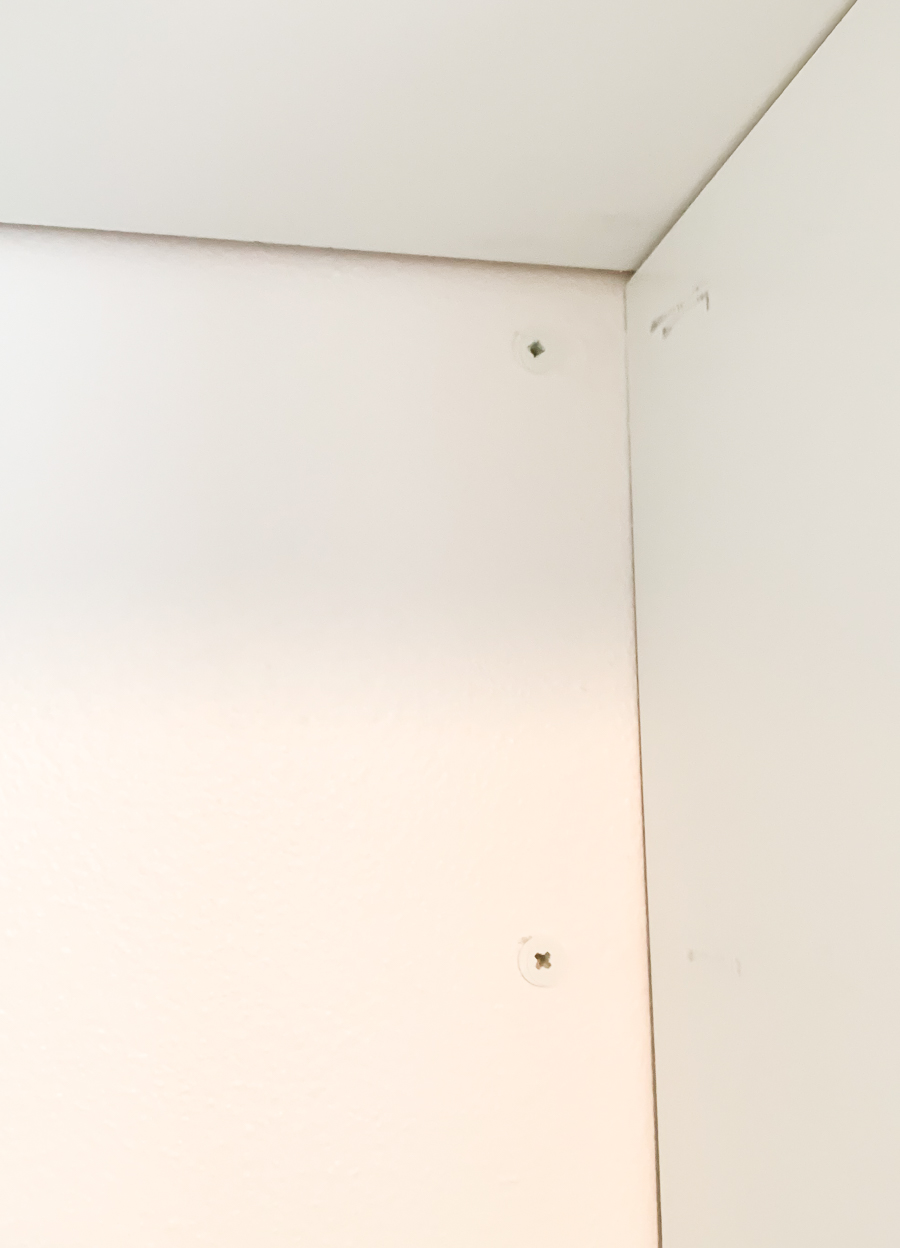
Follow the provided instructions to assemble the IKEA Billy Bookcase and secure it to the wall. The IKEA Billy Bookcase has a slight indent at the bottom back to fit over your baseboard. However, since our baseboard was taller than the indent and we didn’t want to remove the baseboard, we secured the top (with the brackets included with the bookcase) to be leveled with the bottom without having the bookcase completely flush against the wall. We also decided to center the bookcase, but I’ve also seen it aligned to the left or right of the closet.
4. Install the Top Shelf + Shelf Brackets
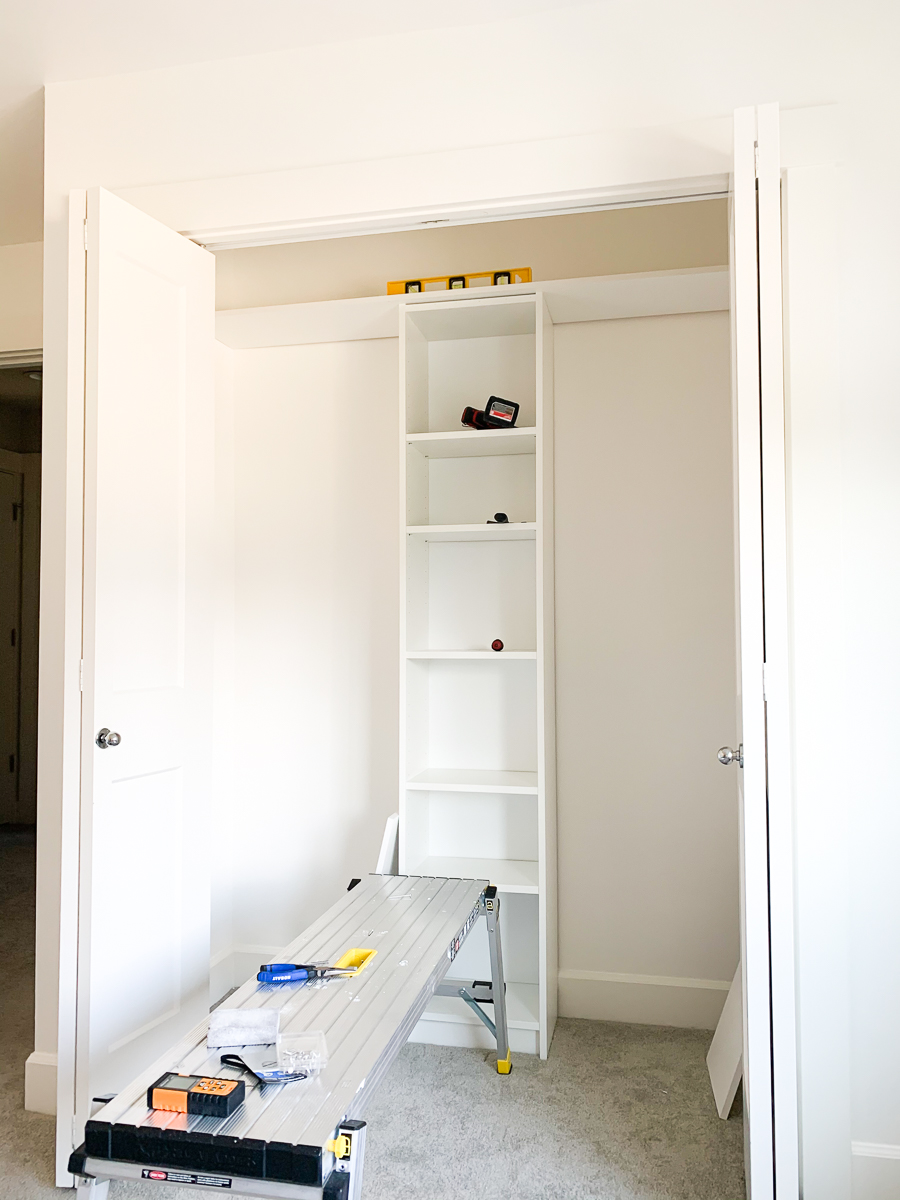
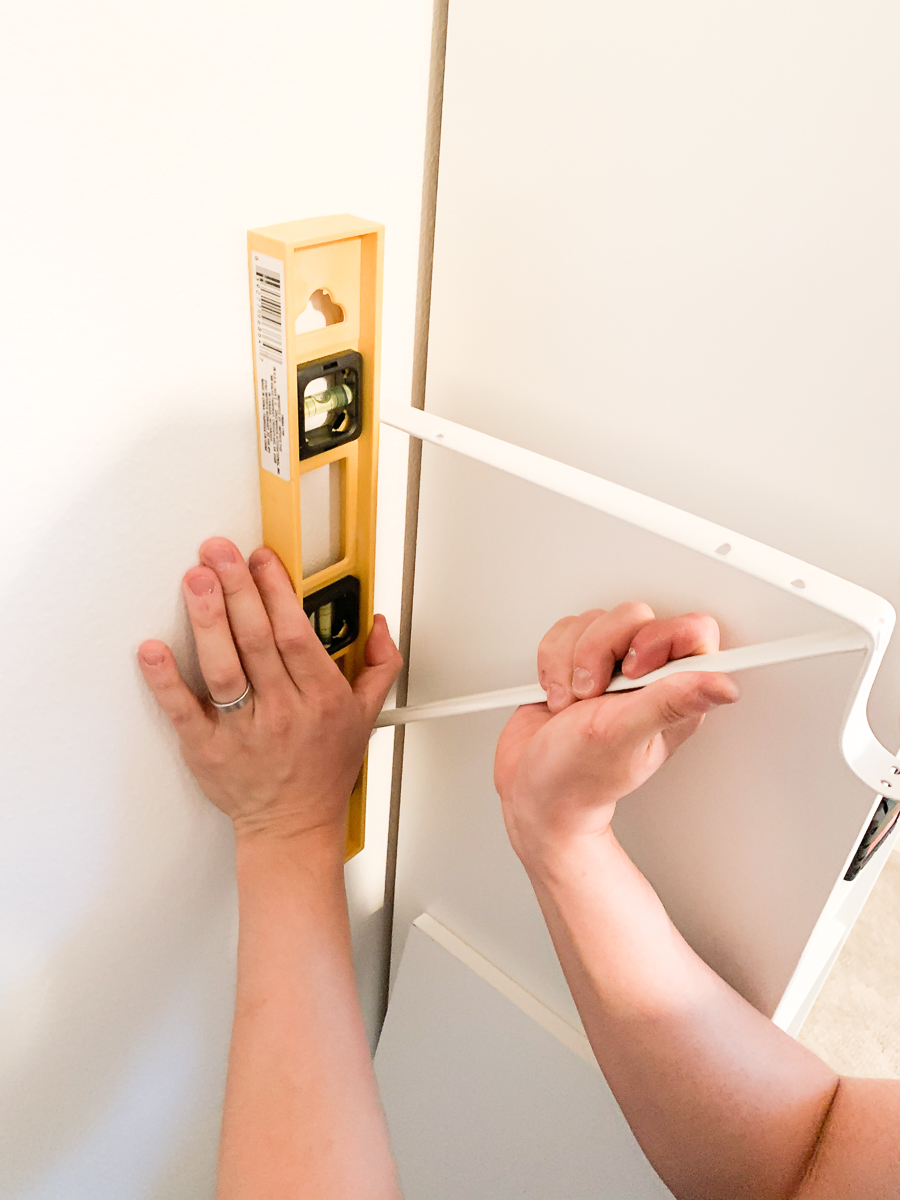
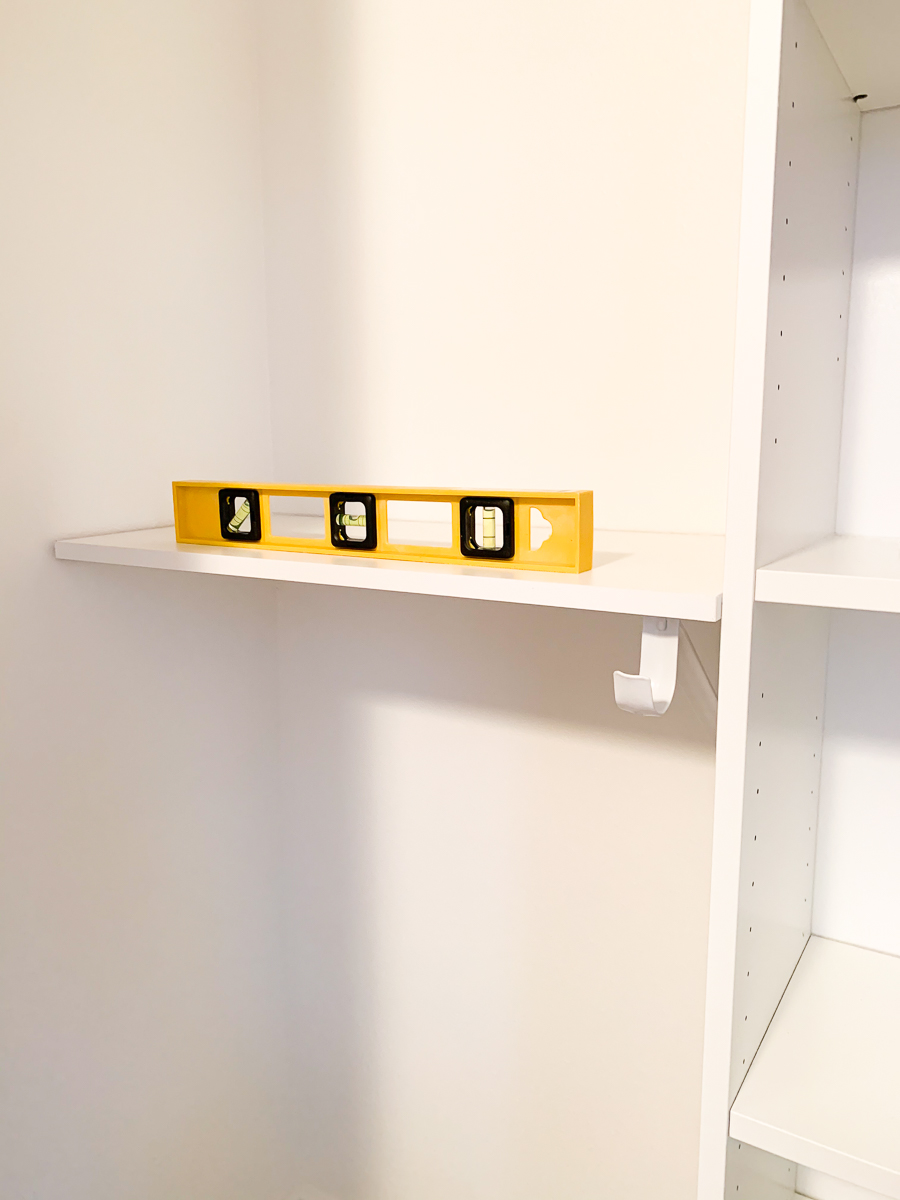
For the top shelf, measure the closet width and cut one of the laminate shelves to size using a miter saw. Place it on top of the bookcase. Then level and install the shelf brackets and secure it to the top laminate shelf.
Since this nursery closet is small, we only needed a pair of shelf brackets on each side of the bookcase. However, if you have a larger closet, you’ll need a bracket for about every 24 inches. Also, if you’re installing shelf brackets directly into a drywall, use drywall anchors for additional weight support.
5. Install Closet Rods
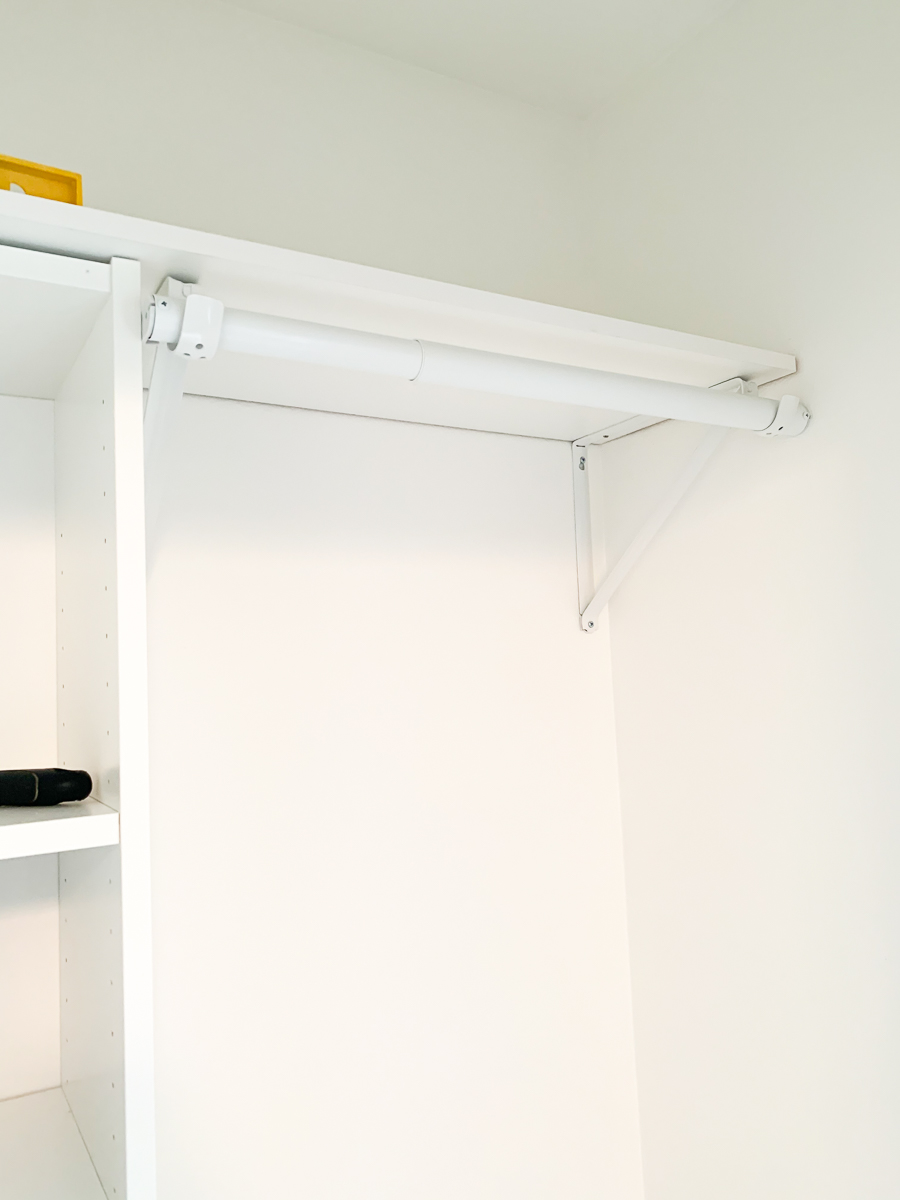
Hang the closet rod over the shelf bracket hooks. Secure each end of the rod with a screw (one end to the bookcase, one end to the wall). The closet is really coming together now!
6. Install Bottom Shelves
For the second set of bottom shelves, we followed the following guidelines for a standard, double rod closet according to Home and Hallow:
- Hang the top rod 80″ from the floor
- Hang the bottom rod 40″ from the floor
- Leave at least 3 feet of spaces between the two rods
Using the guidelines above, level and pre-mark where the second level of shelves will be. Measure the size of the bottom shelves on both sides (from wall to bookcase) and cut the remaining laminate shelf accordingly with a miter saw.
Repeat step 5 to install shelf brackets, shelves, and closet rods to complete your custom nursery closet!
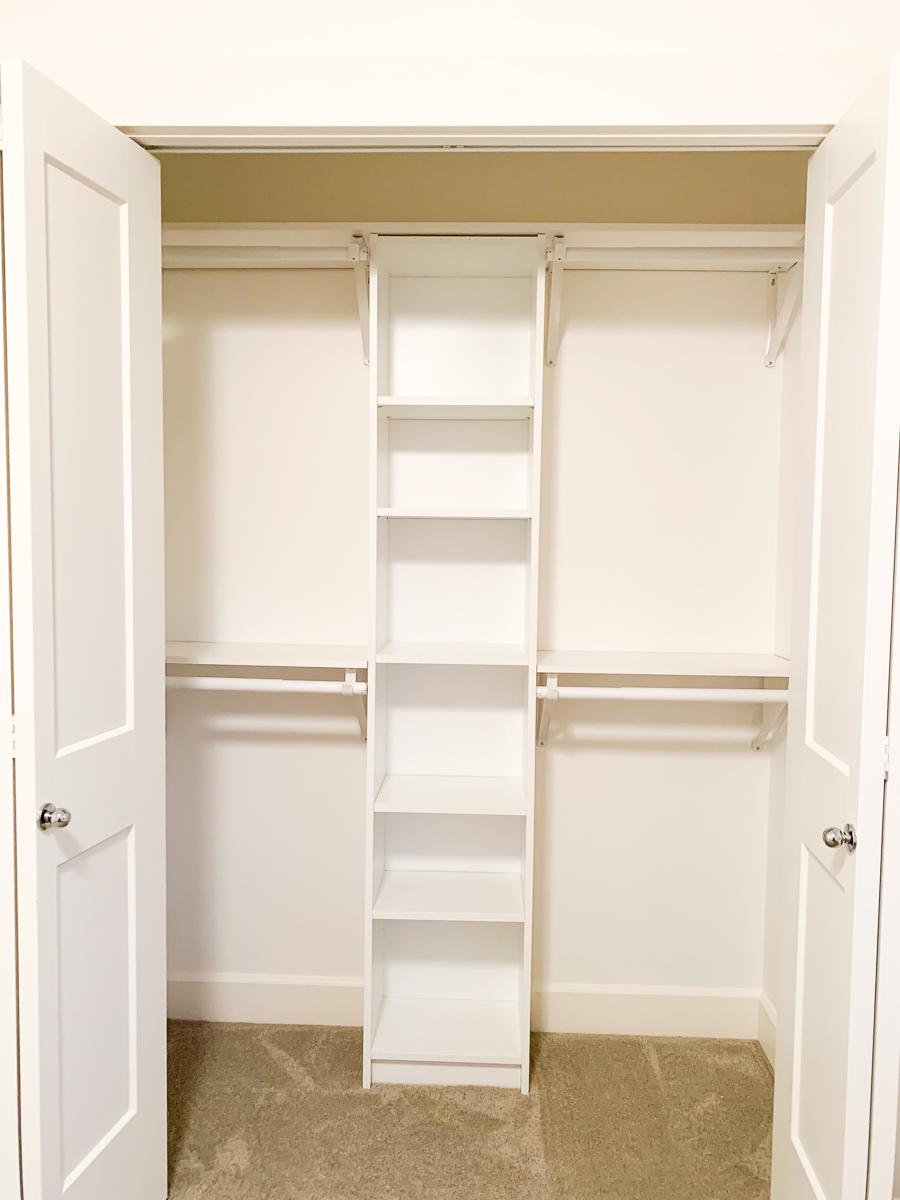
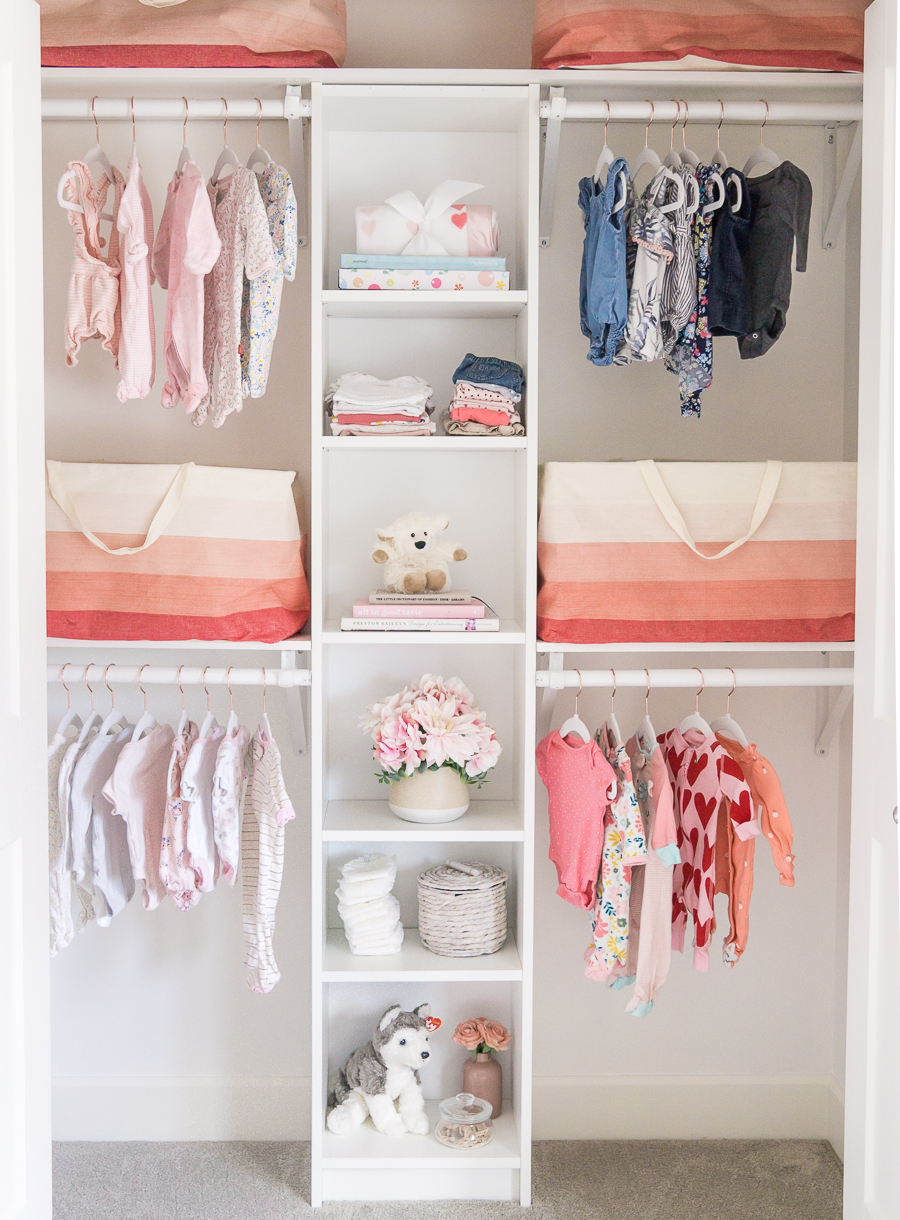
7. Organize the Custom Nursery Closet
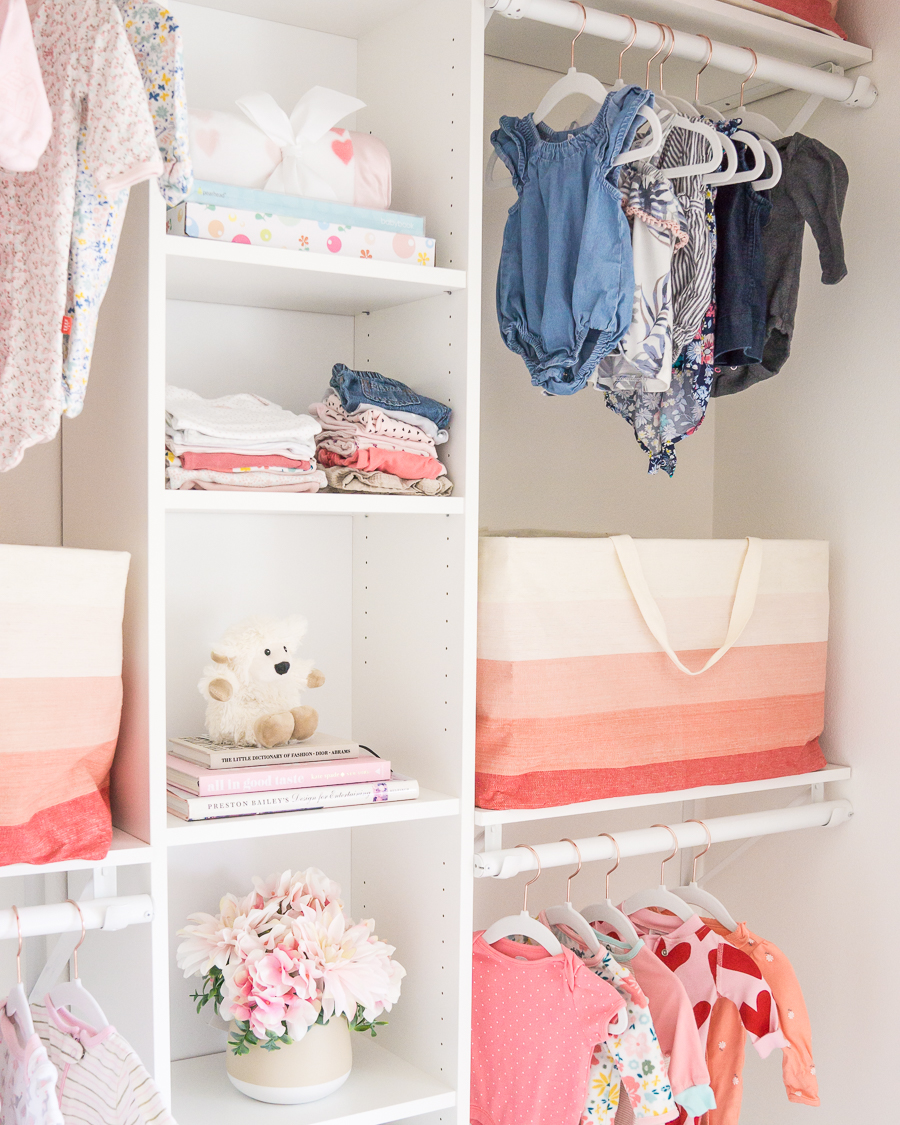
Now that the closet is done, it’s time to organize it! Right now, we are still a couple of months away from baby’s due date so we don’t have most of her stuff yet. However, my friend recently dropped off some baby girl hand-me-down clothes so I was able to “decorate” her closet!
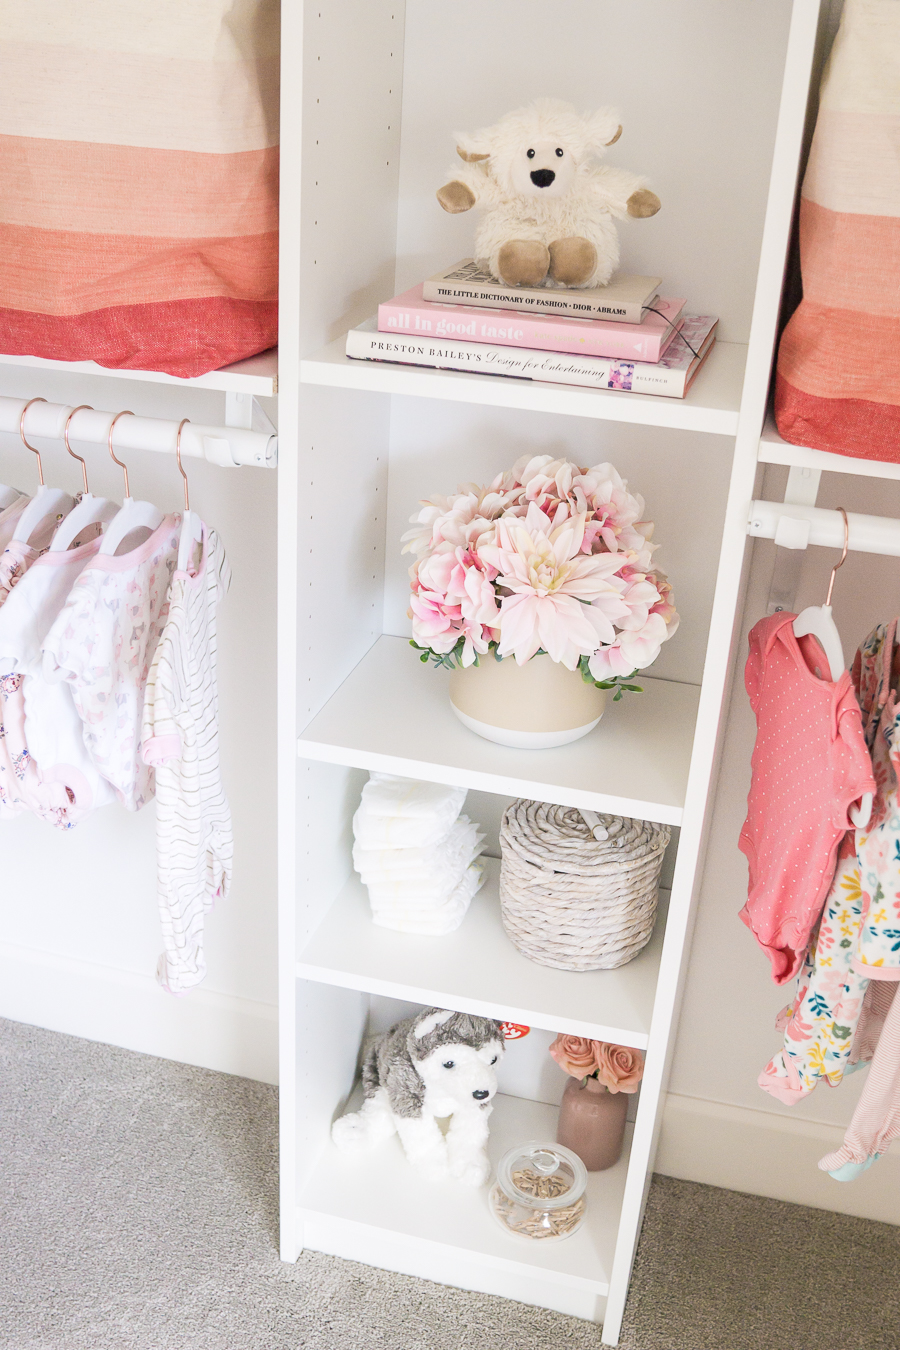
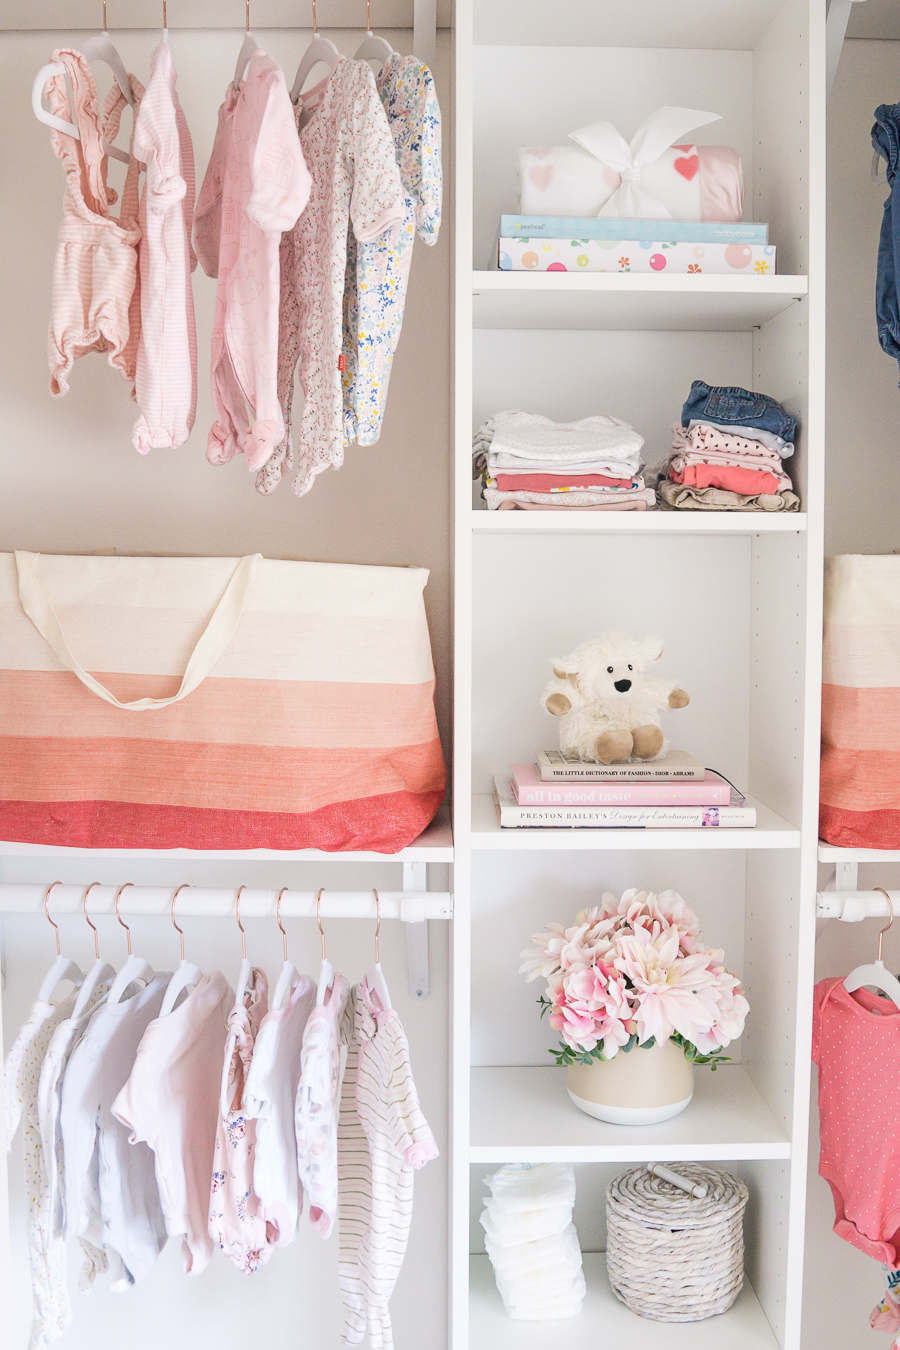
I hung all of baby girl’s clothes that we have so far with this cute set of kids velvet hangers. I’ve had these fabric storage bins (similar here) for 10 years and they match perfectly with the nursery peach color palette!
For the IKEA Billy Bookcase, I am planning to go to IKEA to get wicker baskets so that I can store more items. I will probably get some more storage containers for the floor too – gotta take advantage of all the space!
I am incredibly happy with this IKEA Billy Bookcase hack and to have a functional custom nursery closet that has tons of storage and hanging space. I can’t wait to fill it up with more cute baby girl things like swaddles, shoes, bows, towels, and more!




It turned out so beautifully Tina. I can’t believe baby girl will be here in two months. I am so excited for you and Jeff! I hope your week is going well so far and happy Wednesday! Any plans for the 4th?
Maureen | http://www.littlemisscasual.com
This is so cute!! I need to do this to my closet!
Jennifer
Curated by Jennifer
This is such a great idea, the nursery looks really cute! Xx
http://www.thefashionfolks.com
Wow! You did an amazing job with this DIY and I love how you’ve decorated it. I helped my mother-in-law to build her bbq grill with my husband, so I understand that sense of accomplishment when you complete something yourself. Well done!
Mich x
http://michjoseph.com
This closet looks amazing! Your little girl would be so pleased. Thanks for sharing this space!
https://www.kathrineeldridge.com
Wow you did an incredible job Looks adorable and so functional xoxo Cris
http://www.photosbycris.com.au/?p=7344
Omg I’ve been so out of the loop! Congratulations! And you did an incredible job with the nursery closet!
http://www.rdsobsessions.com
Great job with the nursery closet! It looks amazing!
xoxo
Lovely
http://mynameislovely.com
Oh this turned out just perfect!
-Ashley
Le Stylo Rouge
This must be the cutest closet ever! I loved scrolling through the photos and looking at all the beauty in them. Thank you for sharing!
Wow, this looks amazing! Looks like a custom build!
So amazing to see how you have done it.
http://www.georginahart.co.uk
Wow you did such an awesome job, it looks amazing. I would never have guessed it was a bookcase in the centre, I love it so much! xo
v
Congratulations on your baby news! That is so creative and fun, I can’t believe you did it yourselves, looks like a pro. Everything looks cute in the wardrobe.
http://www.busyandfab.com
Aww I really love the final result, very inspiring as I want to get a new nursery closet for baby #2.
Thanks for sharing !!!
Sonia
http://www.soniaaicha.com
WOW!! This came out amazing!! And you can fit so much more stuff in the closet now, and it is more organized so it will be easier to find things too. Love this!!
Allie of
http://www.allienyc.com