
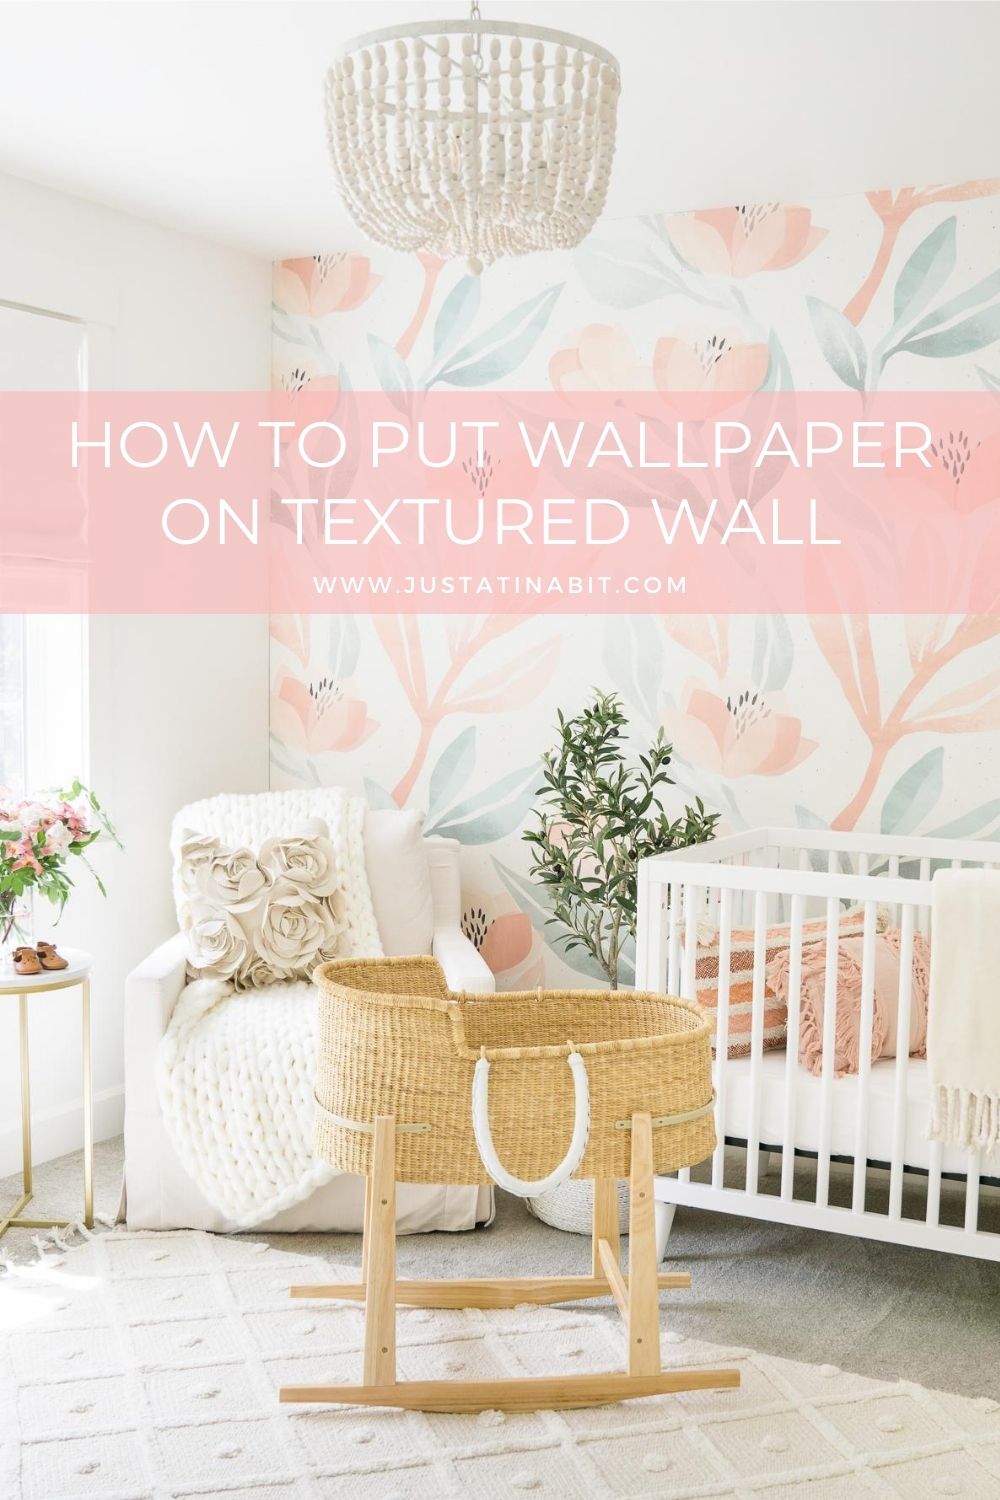
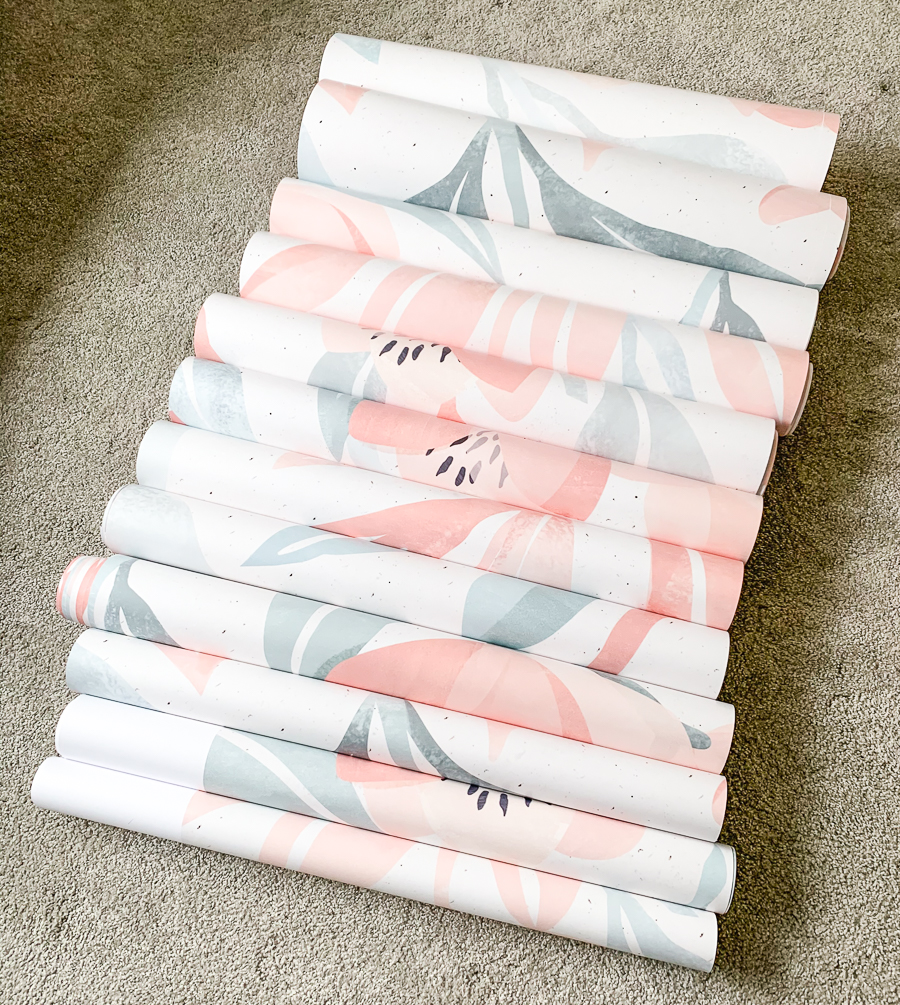
Wallpaper is such a great way to add an accent wall to any room. I love how it can quickly add colors and patterns, and best of all, you can do it yourself! We are so in love with this pretty peachy wallpaper that’s absolutely perfect for baby girl’s nursery. But, I will admit, we had a hard lesson learned with this wallpaper because of our orange peel textured wall. Don’t make the same mistake as us – here’s how to put up wallpaper on textured wall!
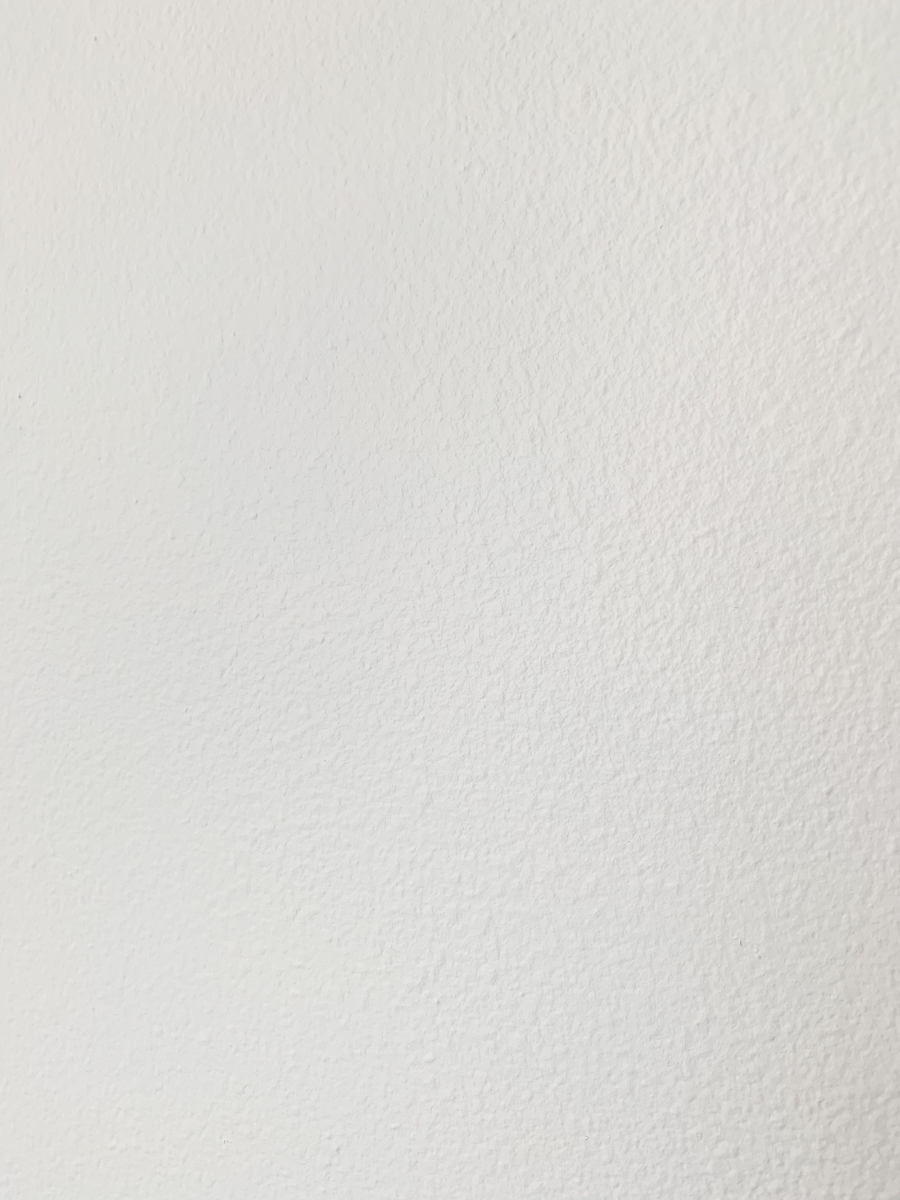
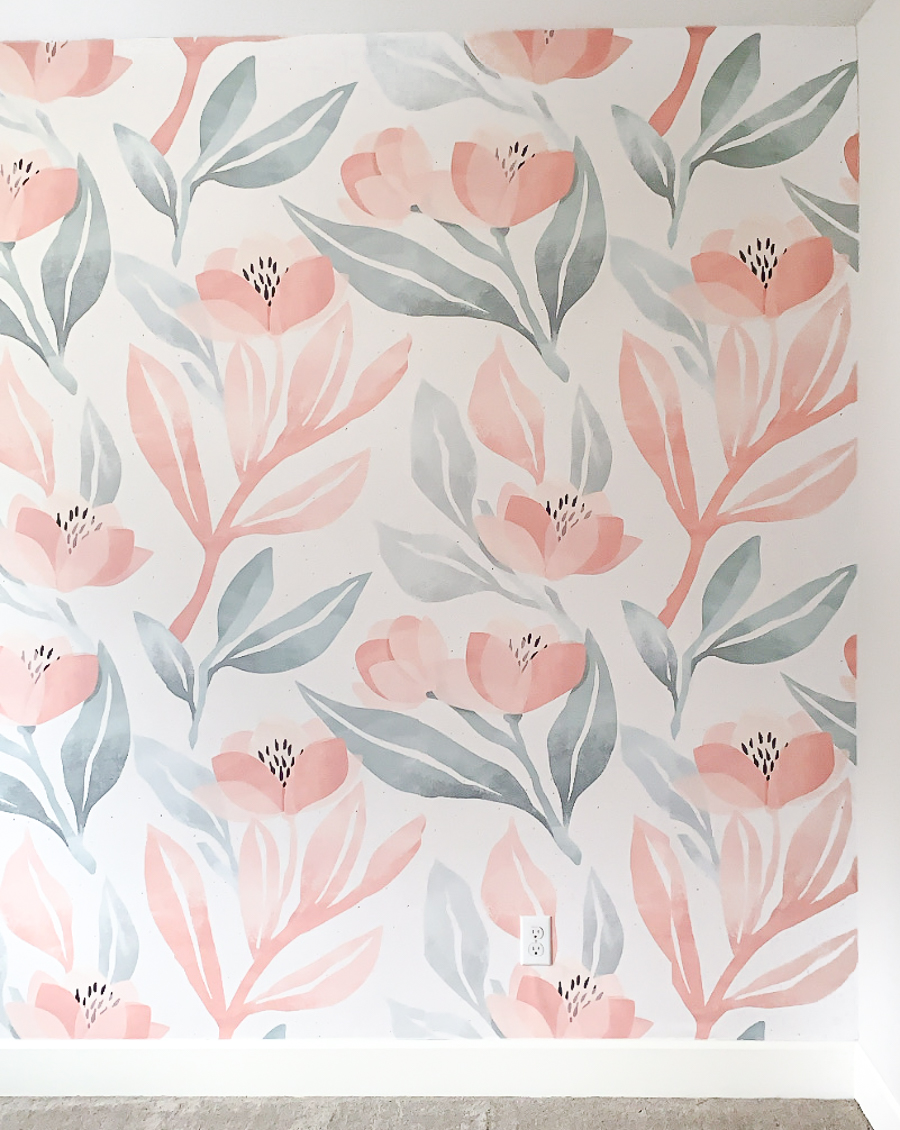
Living in our new construction home, I always assumed that we had smooth walls compared to the walls in my childhood home, which were HEAVILY textured. However, little did I know that we have orange peel textured wall and now I can’t unsee it lol. I thought it would be fine to put up wallpaper since our wall is only lightly textured, but boy was I wrong. After putting up the stick-and-peel version, which took us about 3-4 hours, the wallpaper started to fall off a week later as shown below.
I reached out to the wallpaper company and they advised that we put up smooth, thin wooden panels over our textured wall before applying the wallpaper. You can buy these at your local hardware store. Another option is to smooth out your wall by skimcoating or sanding it down, but we thought this would create too much dust. Here are instructions on how to put up wallpaper on textured wall!
What You’ll Need:
- Wooden panels
- Table saw
- Measuring tape
- Staple gun and staples
- Hammer and nails
- Stud finder
- Wallpaper (stick-and-peel or pre-pasted)

How to Put Up Wallpaper on Textured Wall
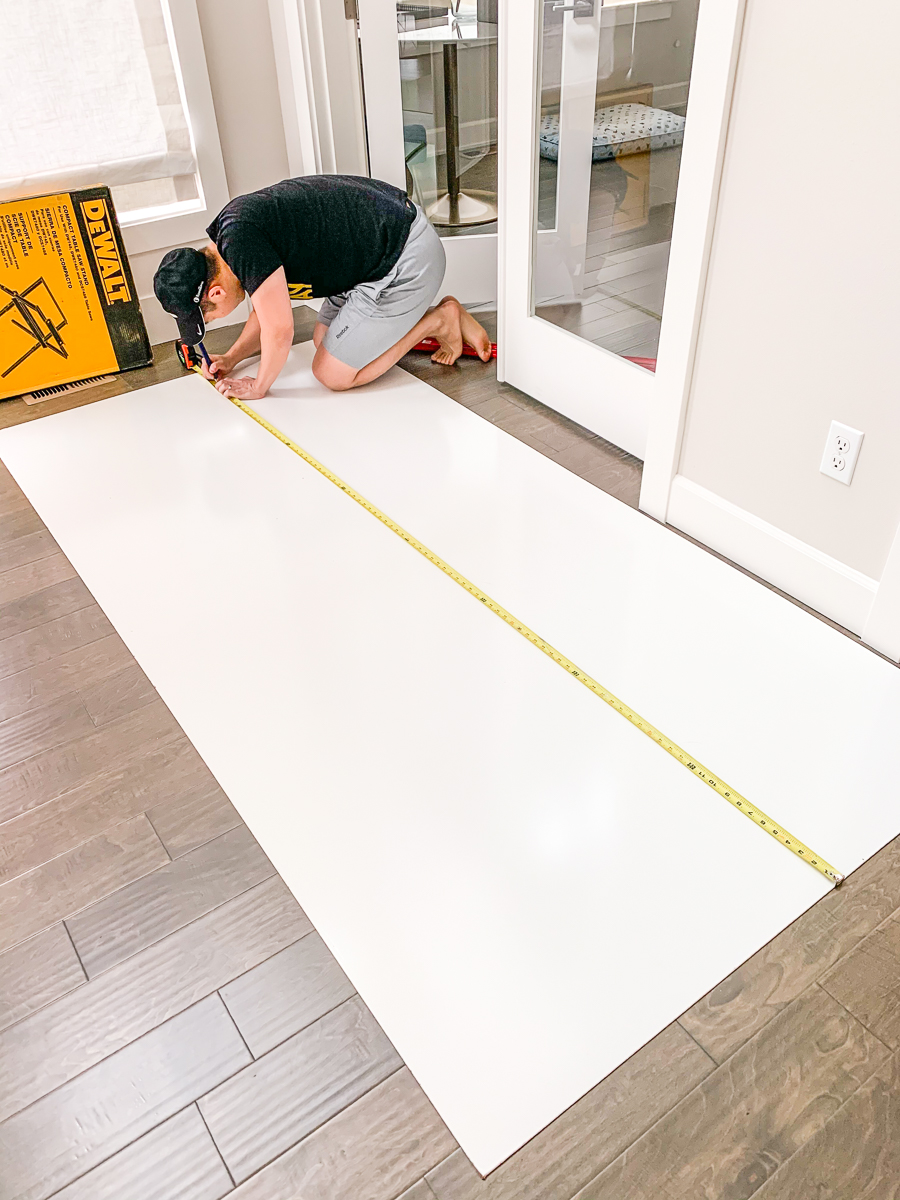
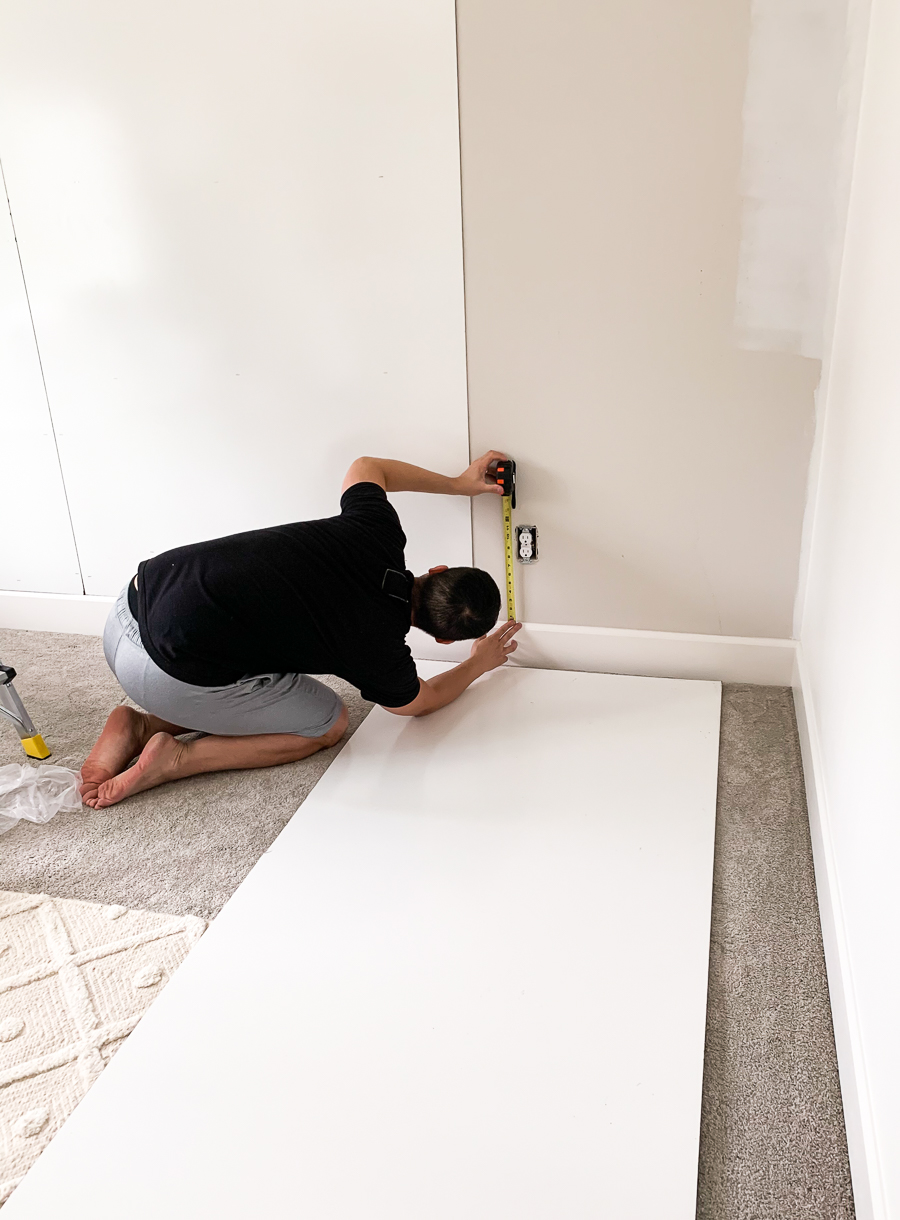
1. Measure Wall and Cut Wooden Panels
The first step is to measure your wall and determine how many thin wooden panels you need. The dimensions of our wall are 131.5 inches (width) x 91 inches (height, not counting baseboard), which requires three wooden panels.
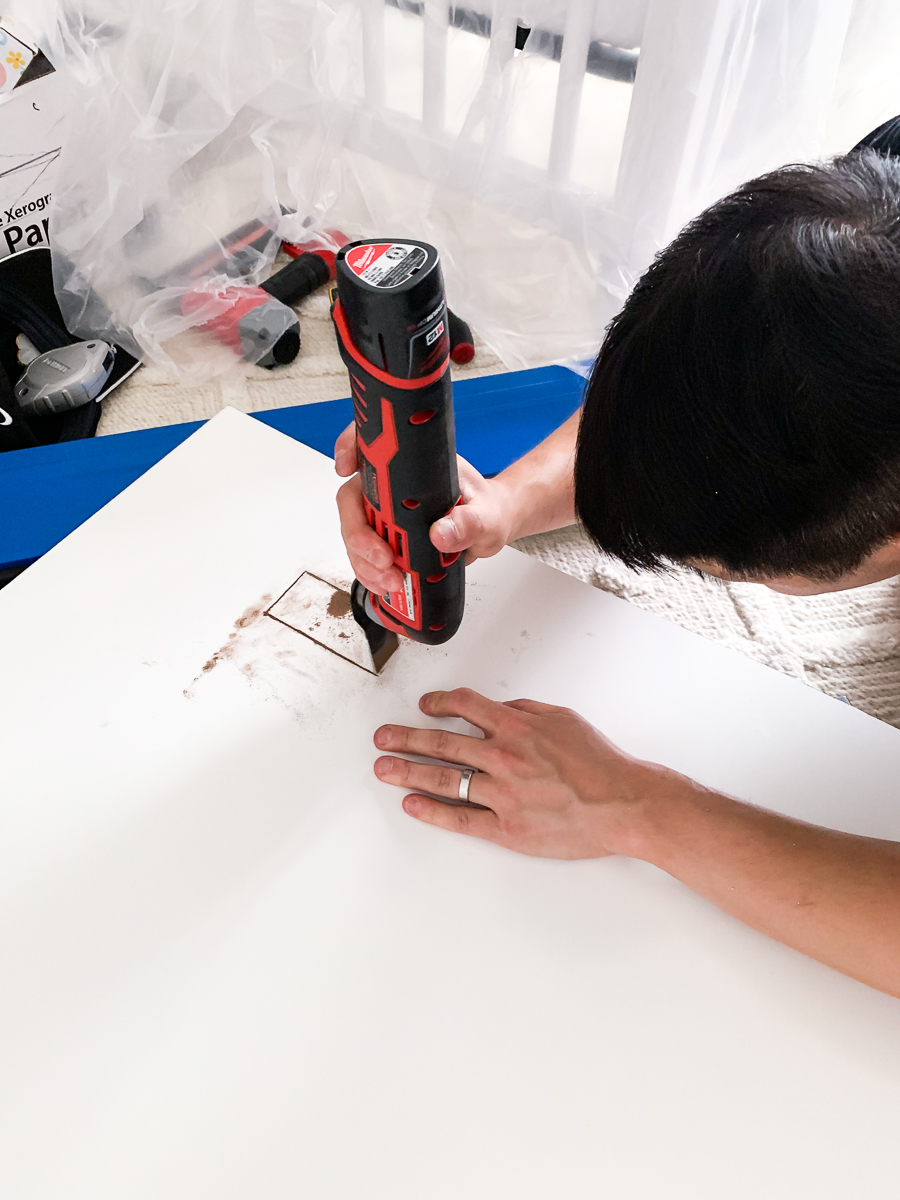
Once we purchased the wooden panels, we used a table saw to cut them to fit our wall. You can also ask your local hardware store to make the cuts for you. Keep in mind that you’ll also need to make cuts for your outlets.
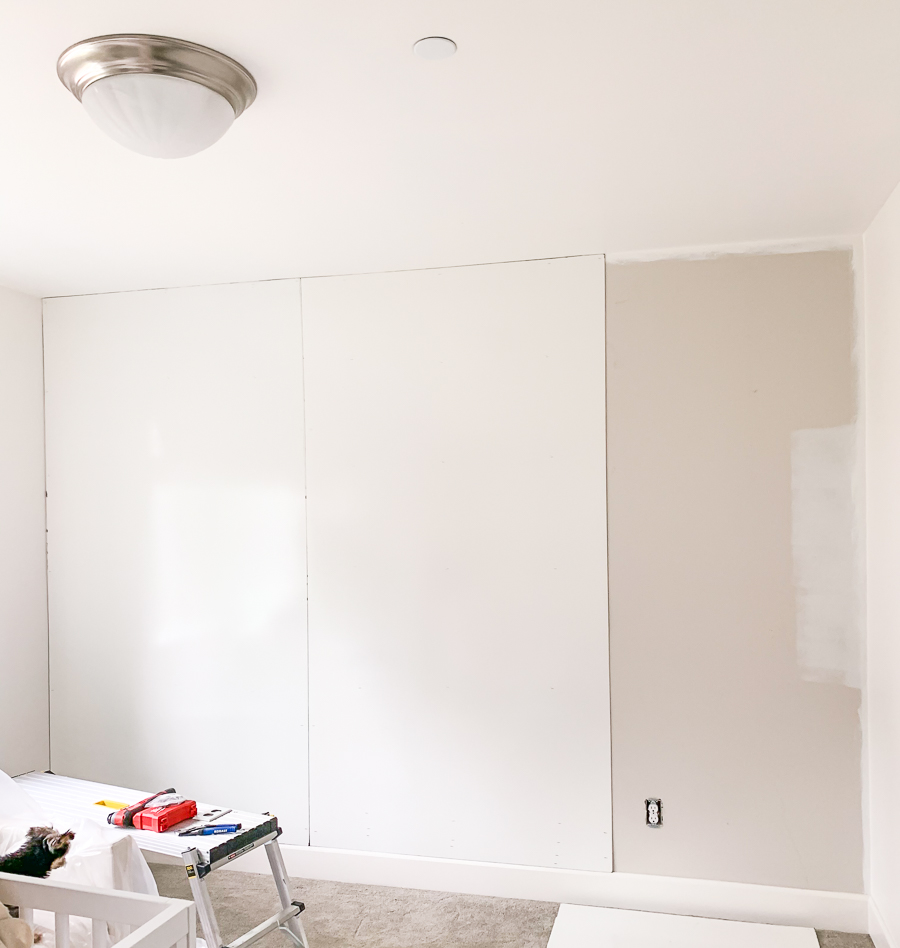
2. Install Wooden Panels
Next, we installed the wooden panels. We used our staple gun to staple the wooden panels to the wall. To ensure they’re secure, Jeff also manually hammered in some nails to the studs in the wall. That’s it – the wall is prepped and smooth, and ready for your wallpaper!
3. Install Wallpaper
Follow the instructions for the wallpaper installation. The very first time, we got the peel-and-stick kind, but when we re-bought the wallpaper, we got the pre-pasted one instead. With the pre-pasted version, we wetted the back of the wallpaper with water using a paint roller. Then we “book-ended” it and installed it over the wooden panels. A few tips / comments for installing pre-pasted wallpaper:
- The pre-pasted wallpaper was easier to install than the stick-and-peel.
- Be generous with the water for the pre-pasted wallpaper. It helps it get sticky.
- Don’t be afraid to move and adjust the wallpaper while it’s wet.
- Installing wallpaper is easier with two people. I helped with aligning and adjusting the wallpaper pieces, while Jeff does the actual installation. While he installs, I also book-end the next wallpaper panel to make it more efficient.

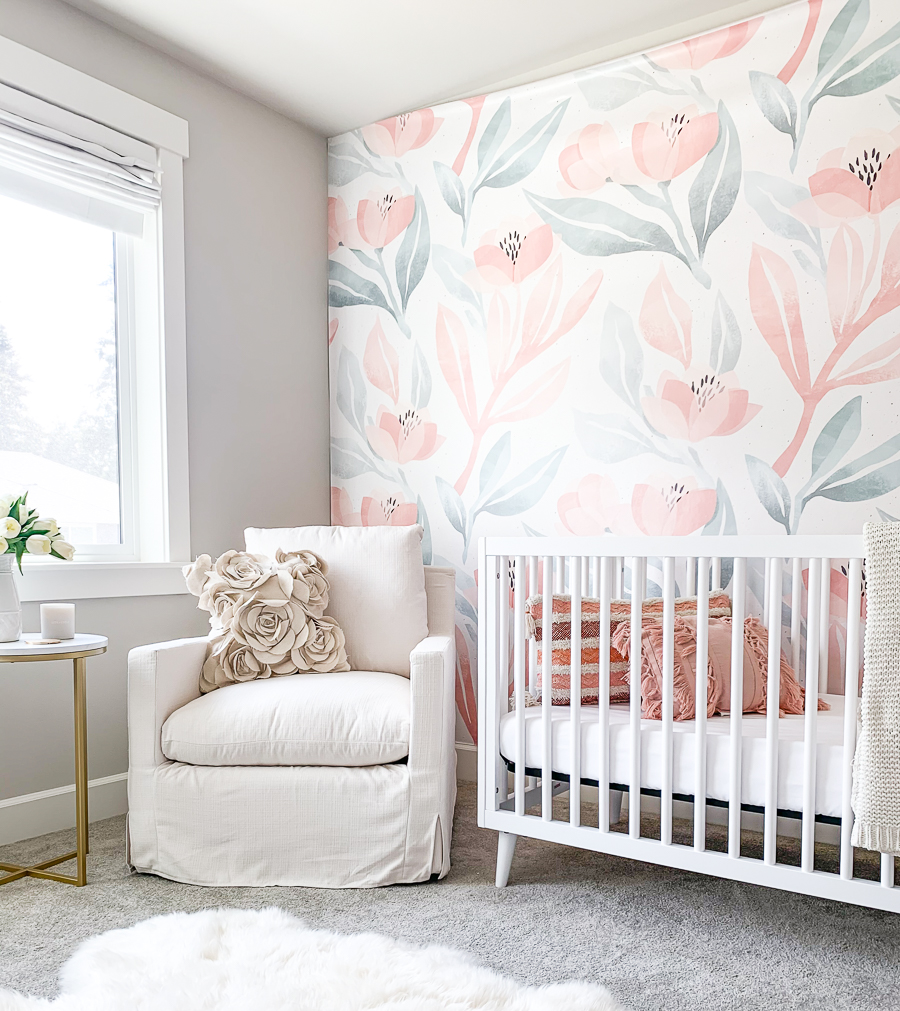
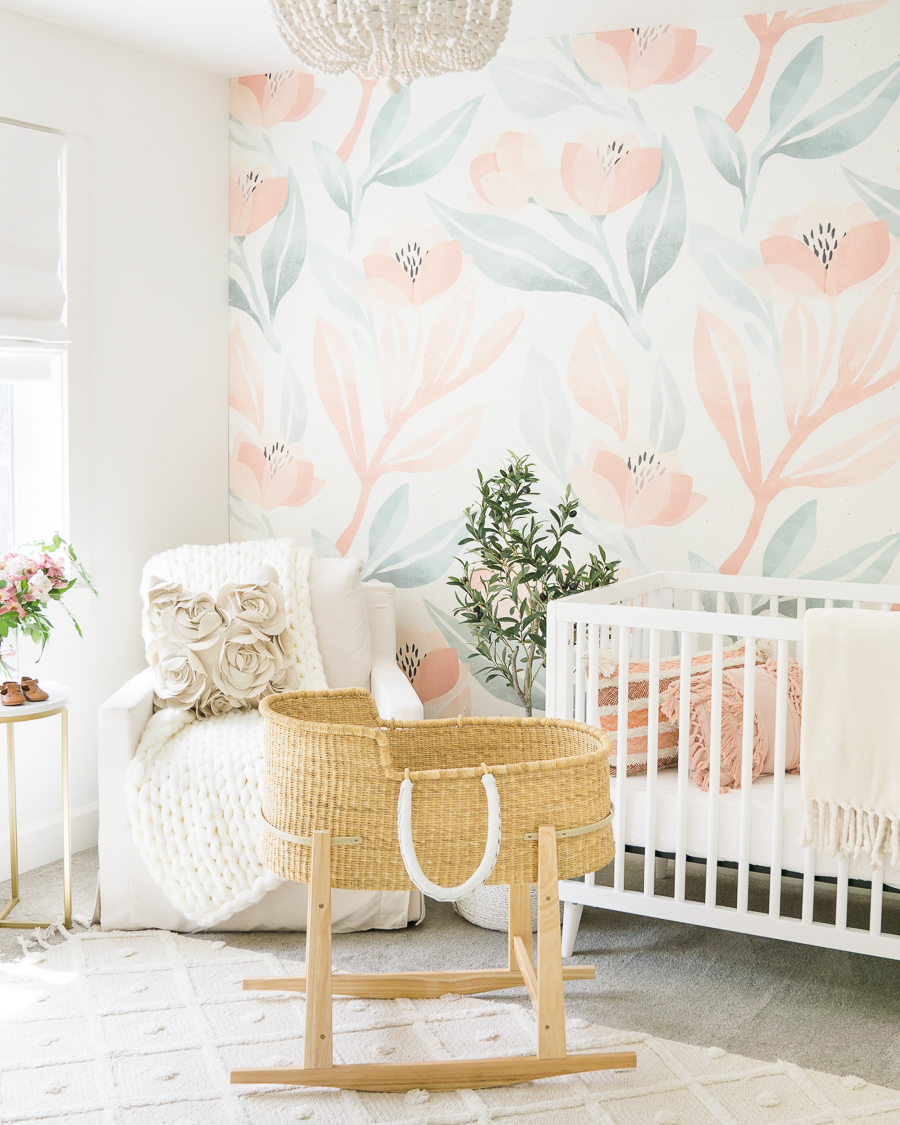
I hope this was helpful! Moral of the story is do NOT install wallpaper on textured wall like we did without properly prepping the surface first lol. It was a waste of time and money. The wooden panels were fairly easy to install, and I wish we did this in the first place! We now have a beautiful accent wallpaper wall for baby girl’s nursery, and peace of mind that it won’t peel/fall off. We love it so much and it really sets the theme and mood for this room! Stay tuned for a full nursery reveal soon! In the meantime, check out my DIY custom nursery closet post.

It looks amazing! It’s so cute!!
Jennifer
Curated by Jennifer
What a great tip! I learned something new today. I am sorry that the first go around didn’t work out but in the end, it looks beautiful. I love her little woven basket too! So adorable and perfect for your baby girl. I hope you are well and happy Thursday!
Maureen | http://www.littlemisscasual.com
Pretty effect ❤
Great work!
It looks so great!! How did you deal with the “seams” in the wood panels? Just wallpapered right over them? Can you tell?
Thanks! We wallpapered right over the seams. You may be able to tell if you look at it very closely but definitely wasn’t a big deal for us!
So awesome! Thanks for the quick reply! This is going to make our project so much easier!!
I love Your idea of wood panels. My wall is 108 inch high. The wood panels in the link you posted are only 96 inch high. I can add extra wood pieces for the length but worried about too many gaps between the panels.
Did you need to caulk the corners or edges? Are there gaps in between the walls and wood panels?
Love the wallpaper ! Where is it from?
Hi! I have it linked here: https://rstyle.me/+X54-PvLrm5bDXGN-paqe-A